The event management tool is used to add new events to your game, extend existing events with additional parameters and publish your events to your LIVE environment. The event management screen is available from the DEV environment by navigating to SETUP > Manage Events. In the LIVE environment a read only View Events page is available instead.

When a game is added to the deltaDNA platform some events will be automatically added to your event schema, these events drive the aggregated Measure charts and are used by some automated systems in the platform. You can extend any of these events with additional parameters and you can add additional events by clicking the Create Event button.
When adding a new event to your game you can choose from a list of approximately 50 event templates or you can create your own event from scratch.
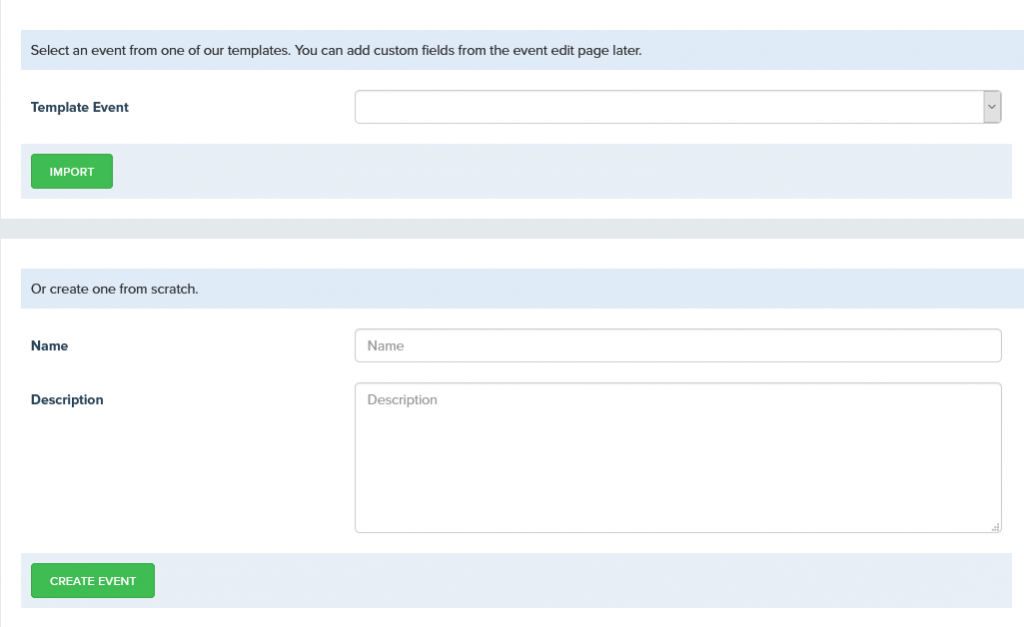
Once the event has been created you can perform a variety of actions on it.
![]()
A: Publish the event to your LIVE environment
B: Edit the event
C: Clone the event
D: Delete the event (you can only delete events if they haven’t yet been published to LIVE)
Clicking the edit event button will take you in to the event editor.
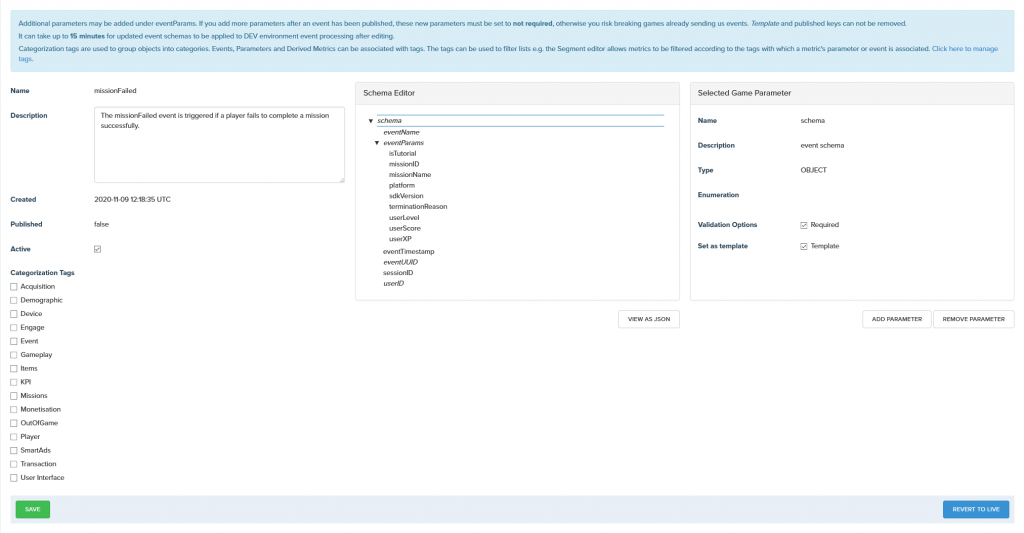
This is where you can inspect the event and review all the parameters contained in the event.
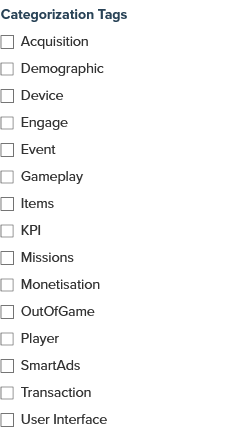
Events can be assigned to various categories that describe the context of their usage. Category filters in some tools within the platform make it easier to find events and parameters more quickly by filtering by category. You can also use the Category Manager to define your own categories.
Clicking on the parameters in the schema editor will reveal their type, a description and any formatting rules as well as telling you if the parameter is optional or required.
If a parameter is optional and you don’t have a valid value to populate it with you should just omit it rather than sending it with a null or empty value
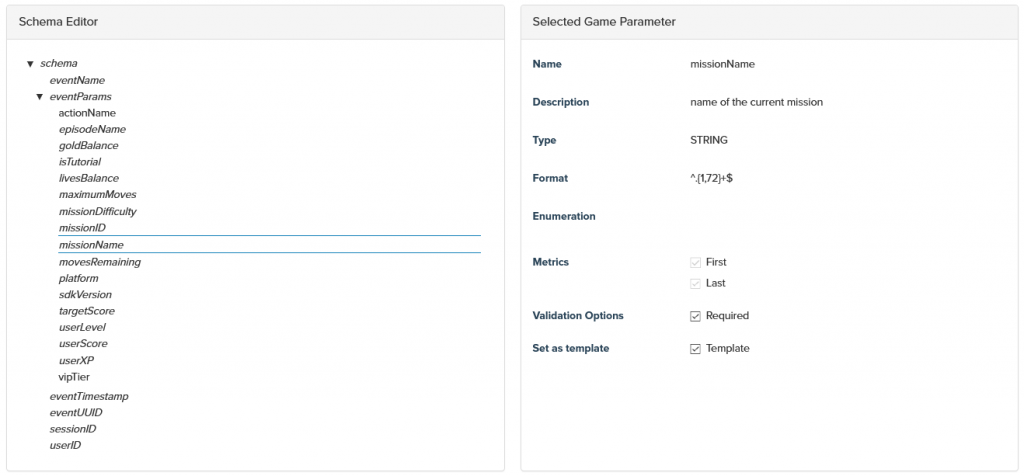
You can add additional parameters to your event by clicking on the eventParams parameter in the Schema Editor panel then clicking the Add parameter button. This will open a panel where you can add any parameters that are already in use on any of your other events, to this event. Or you can create brand new parameters and add them.
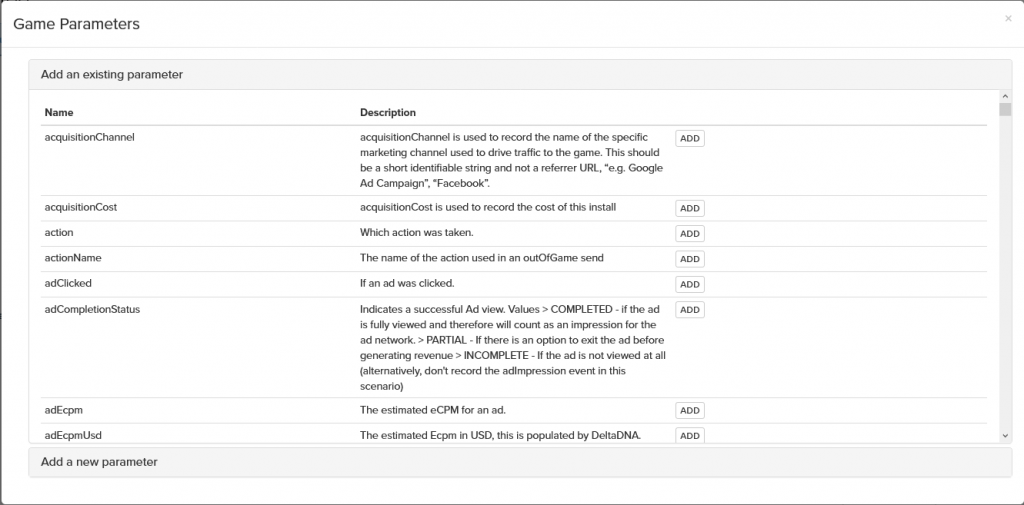
Once you have added all the parameters to your event and checked the optional / required flag to the desired value you should save the event and return to the event manager.
The event manager list gives you an at-a-glance overview of how your event integration is going:
You can clearly see which events are sending data and which aren’t. You can see which events are sending invalid events and what the proportion of events are invalid. It can also let you see which events have been published to the LIVE environment and whether they have been modified in the DEV environment since last published to the LIVE environment.
NB: The event counts on this page show the number of events received yesterday and the % change shows if this is more or less than the previous day. These counts are updated daily, use the Event Browser QA tool if you want to inspect events and check their validity within minutes of the game recording them.
The buttons at the bottom of the event list provide additional functions for publishing multiple events simultaneously and cloning multiple events to another game. There is also an interactive Event Reference manual that shows all events and their parameters on a single page.


