
Before you can send Push Notification Messages to your players you need to:
- Sign your App with a provisioning profile that is configured for Push Notification
- Create a Certificate that the deltaDNA server will use to sign its communications with the Apple when sending messages.
Provisioning your App to receive Push Notifications
In this example we will provision our App with a Development certificate which will be sufficient for testing. Before submitting your game to the App Store you will need to repeat this process and provision your App for Production
Create a Certificate Signing Request (CSR) file
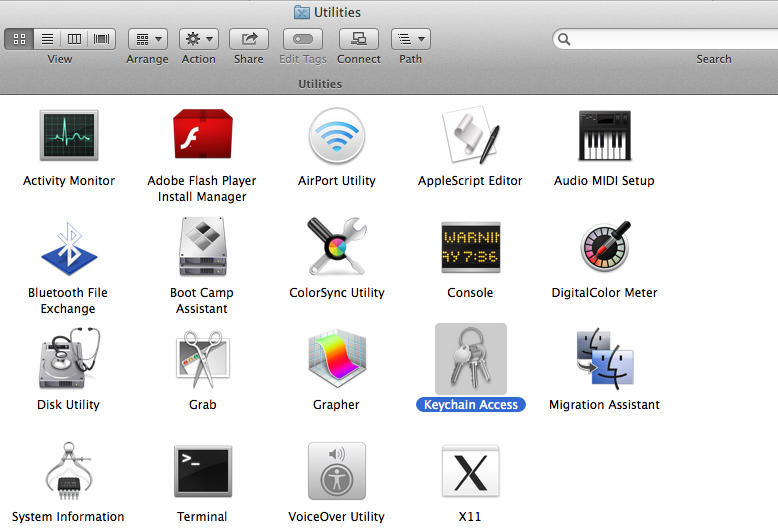
Navigate to Applications >> Utilities on your MAC and open the Keychain Access tool.
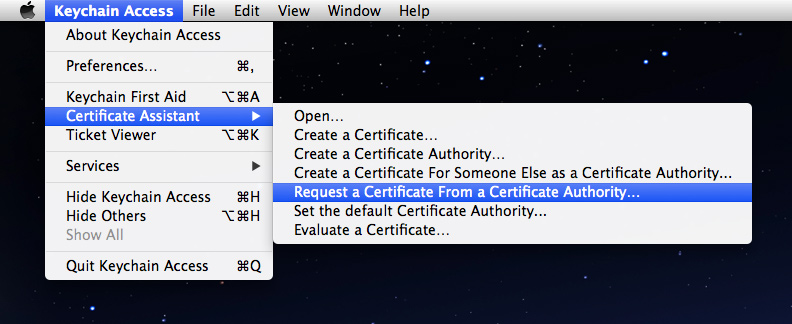
Now choose the Request a Certificate from a Certificate Authority from the Certificate Assistant menu.
You should now see the Certificate Assistant window. Populate the details, choose the Save to disk option and press Continue.
We will save our certificate as deltaCrunch.certSigningRequest

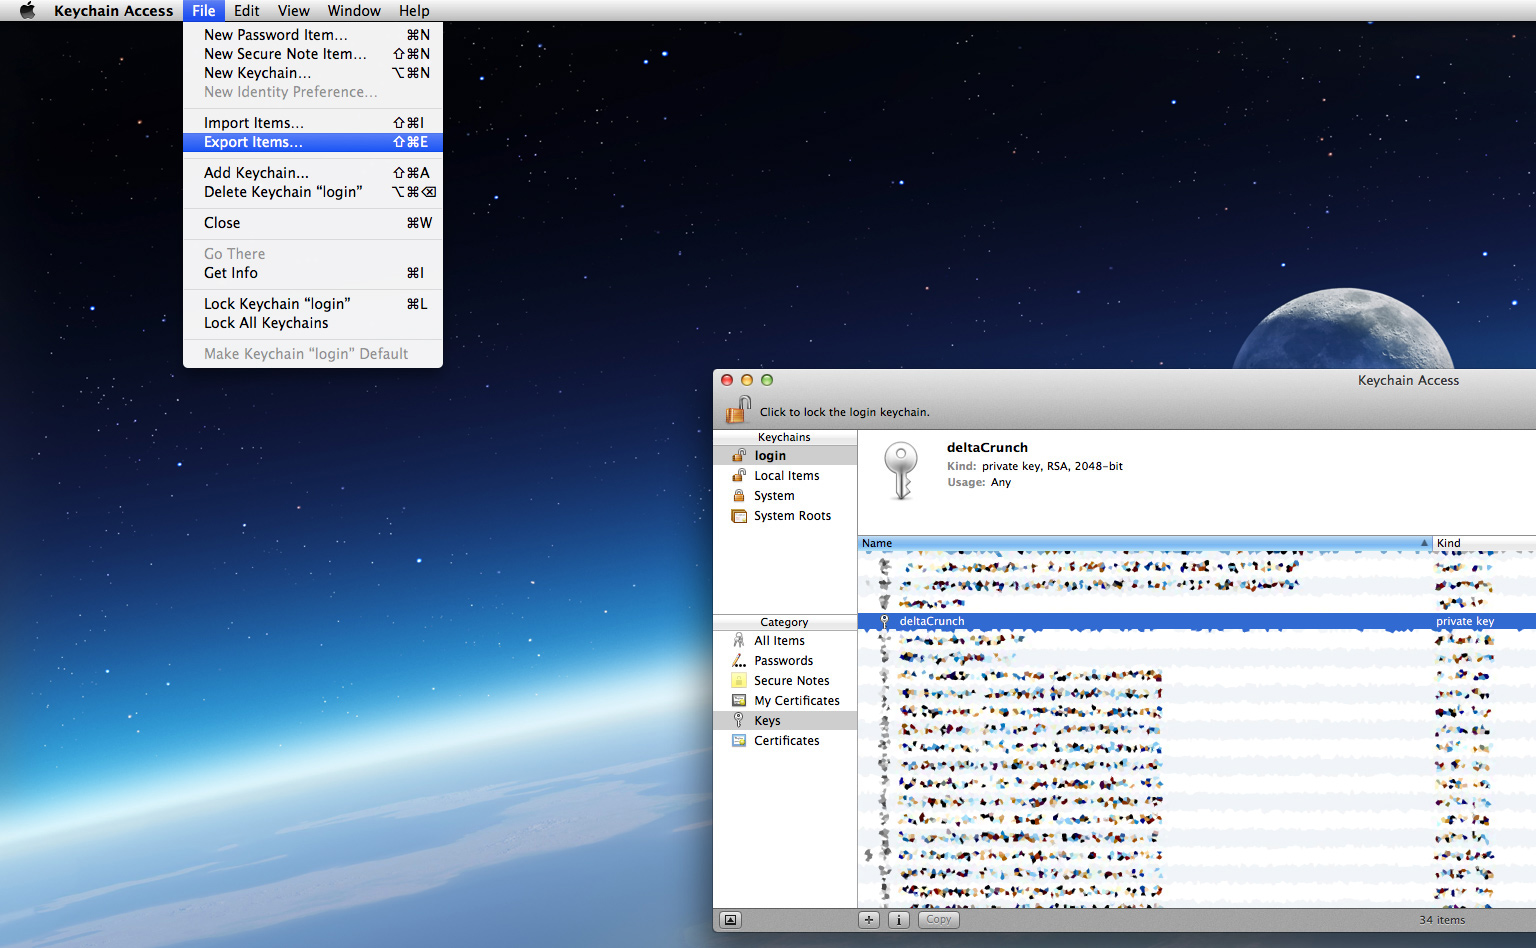
Now go back to the Keychain Access tool, select the new Private Key that has just been created in the Keys section and choose File >> Export from the menu to save the private key to disk. You will be asked to enter a passphrase as you save the file. Our private key file was saved as deltaCrunch.p12
Creating an App ID and SSL Certificate.
You now need to visit the Apple Developer Website and create an App ID and SSL Certificate for your App.
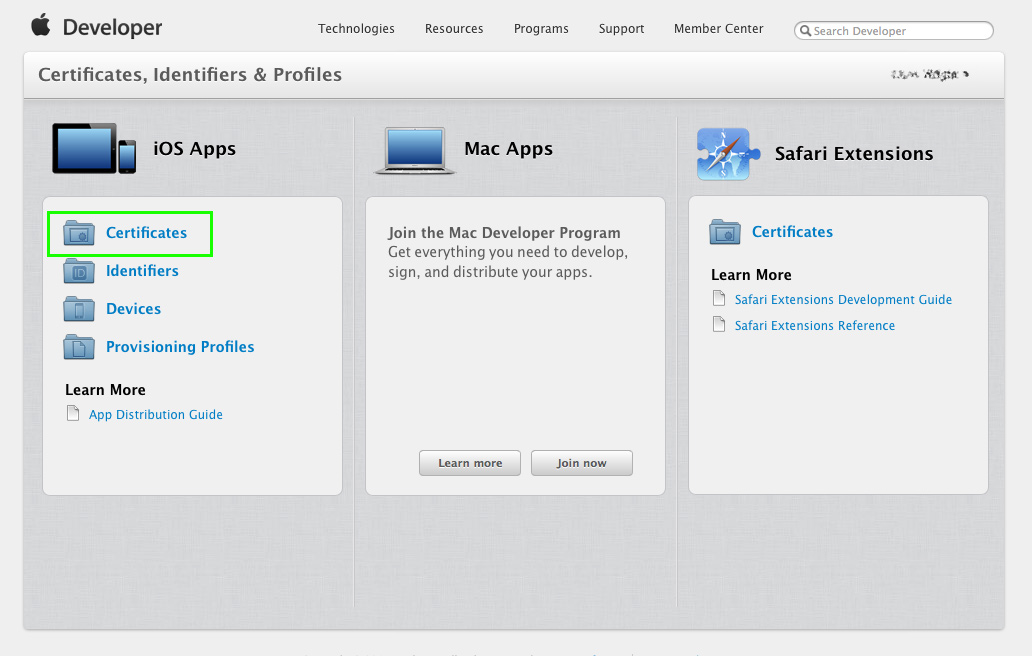
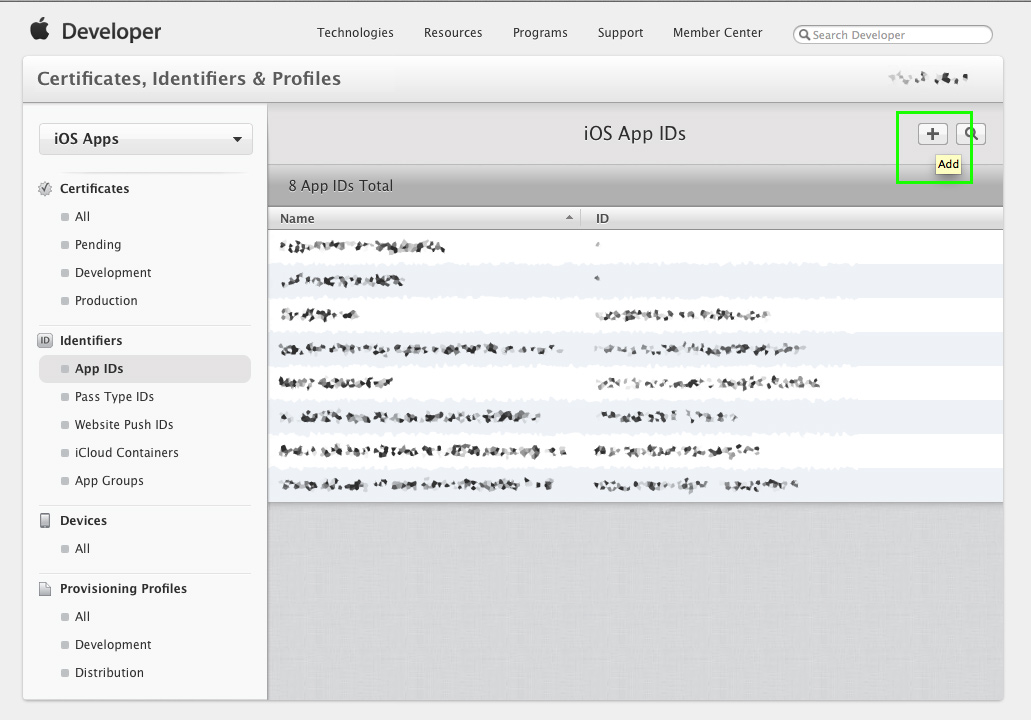
Login to the developer website and browse to the Certificates, Identifiers & Profiles page and select the iOS Apps >> Certificates option
Then select the Identifiers >> App IDs page and click on the Add button to create a new iOS App ID
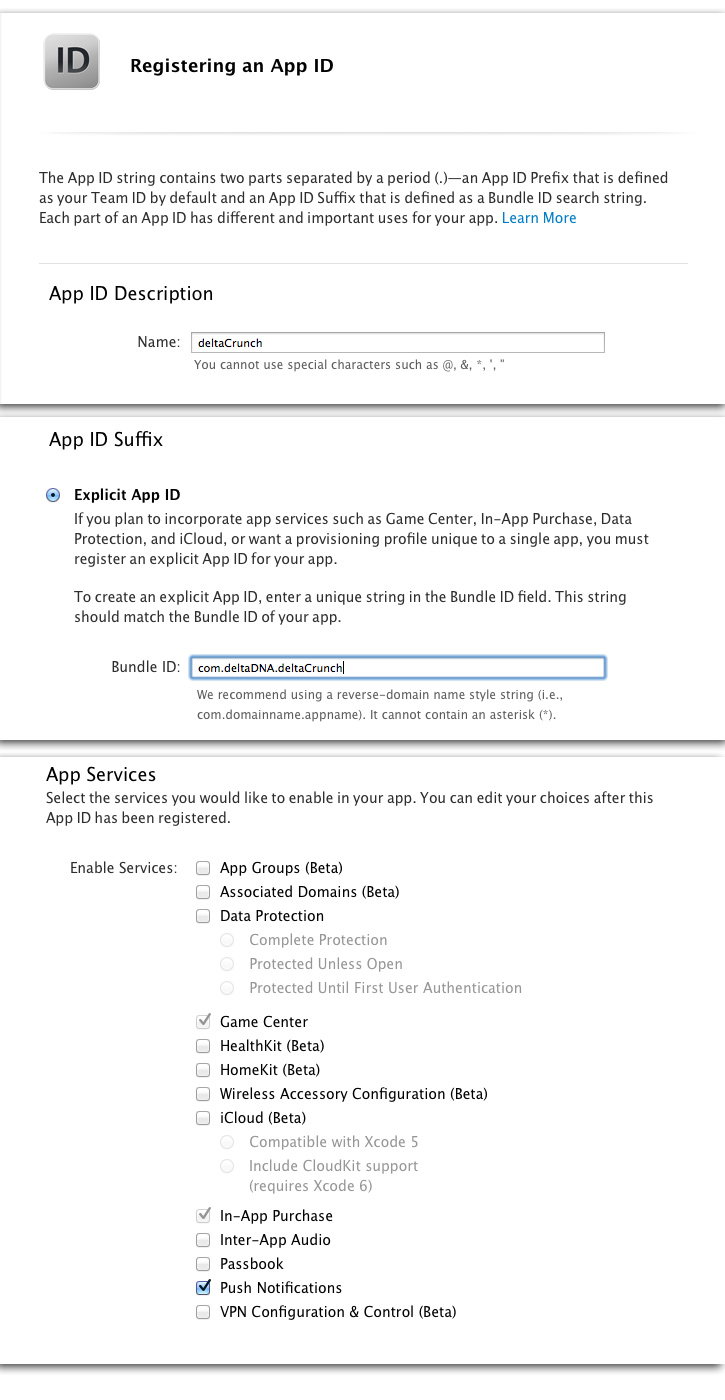
Then populate your App details, in our case they were:
- App ID Description : deltaCrunch
- Explicit App ID : com.deltadna.deltacrunch
- App Services : Check the Push Notifications option
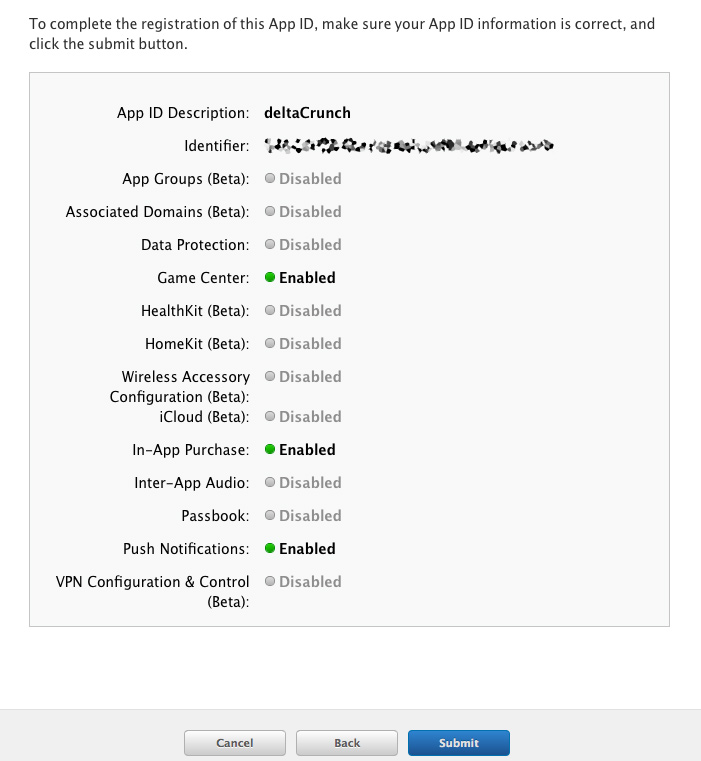
Finally, review your settings and press Submit to create your App ID.
When you view the App ID details you will see that the Push Notification lamps are orange indicating that they still need to be configured.
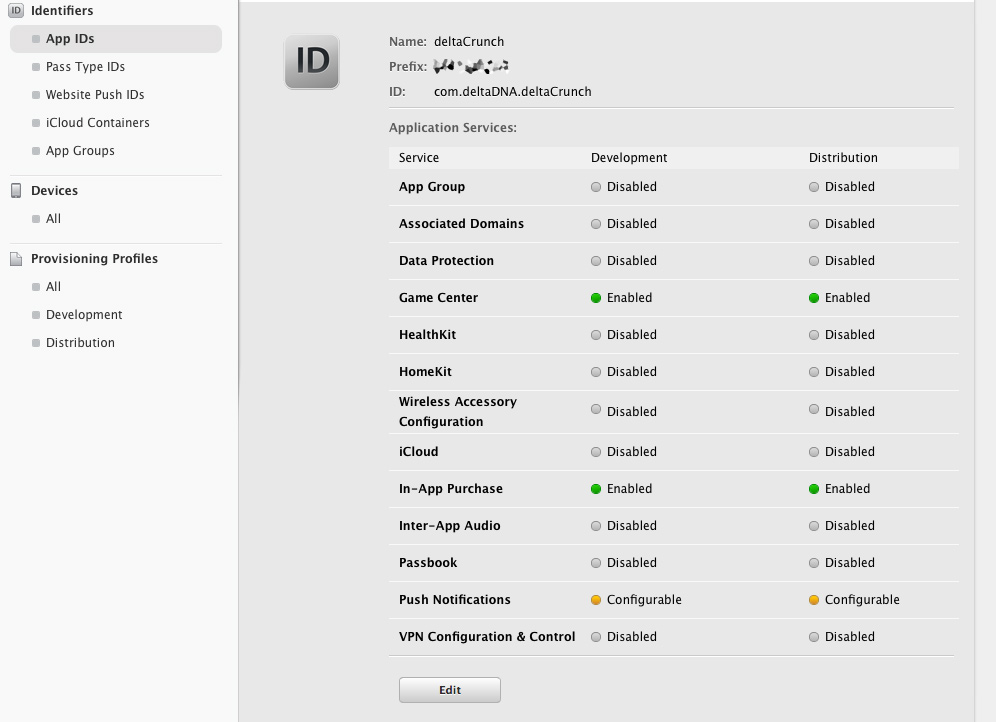
Click the Edit button to go to the configuration page and scroll down until you get to the Push Notifications section.
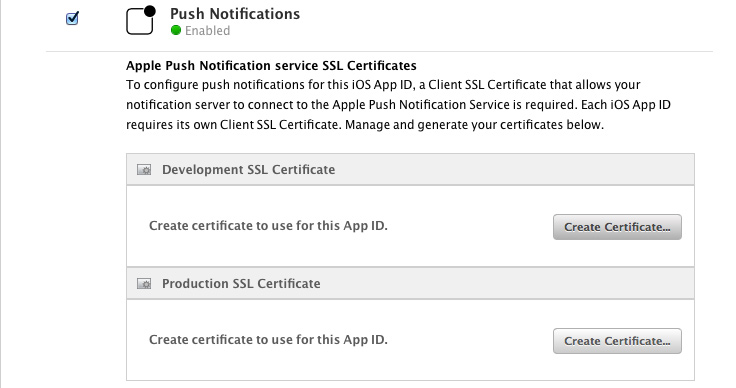
Ultimately you will need to create separate certificates for Development and Production, for now we will create a Development certificate. Click the Create Certificate button in the Development Certificate section to open the Add iOS Certificate wizard.
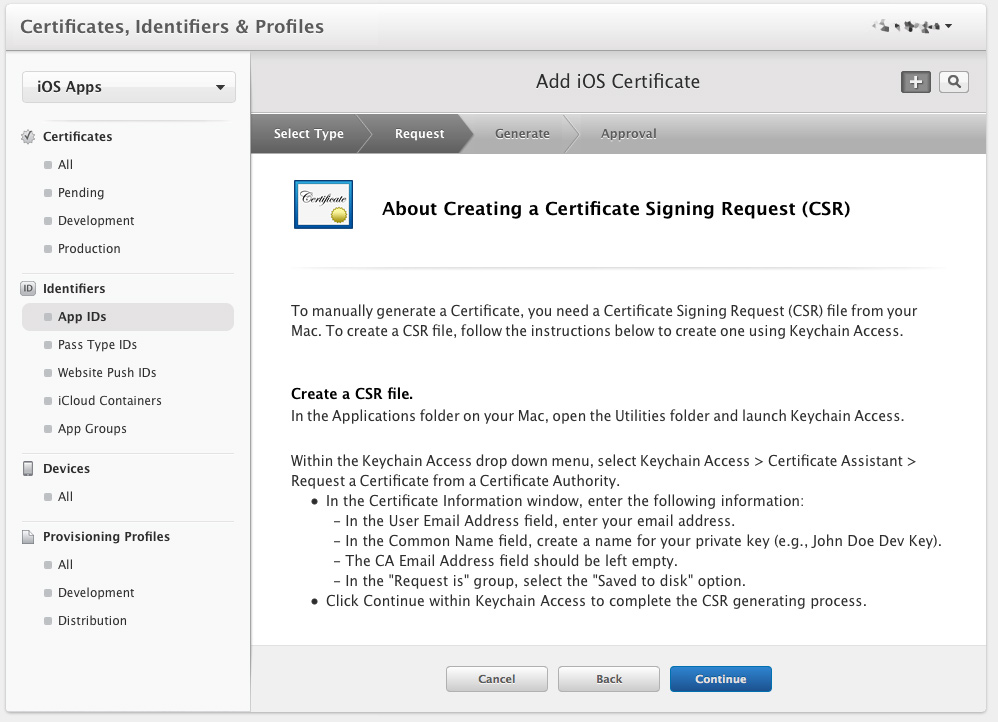
Click the Continue button.

Now you can upload the Certificate Signing Request file you created earlier
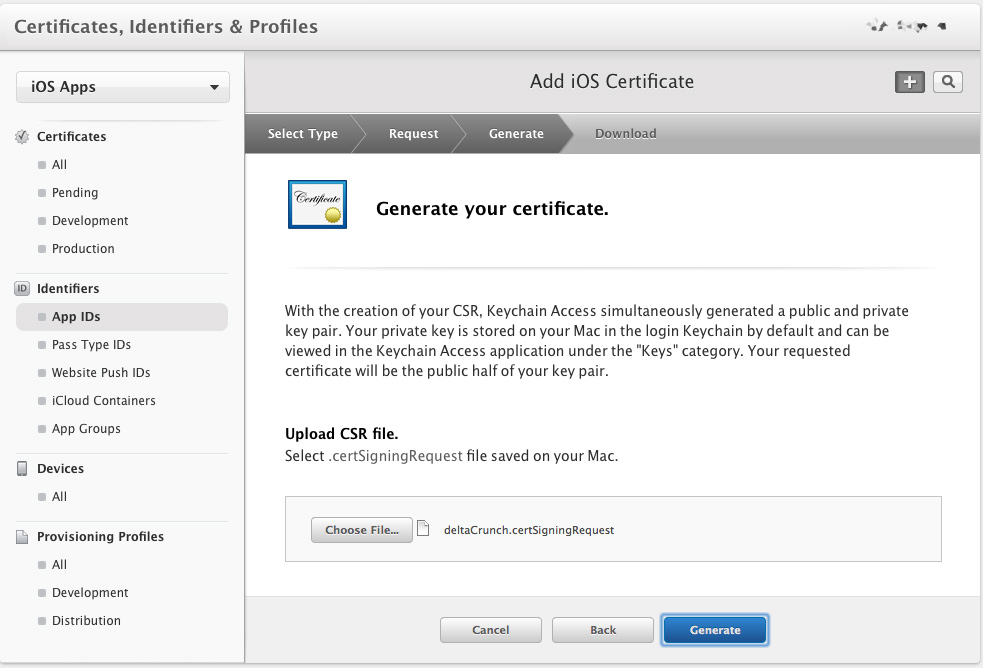
Then press the Generate button to generate an SSL Certificate
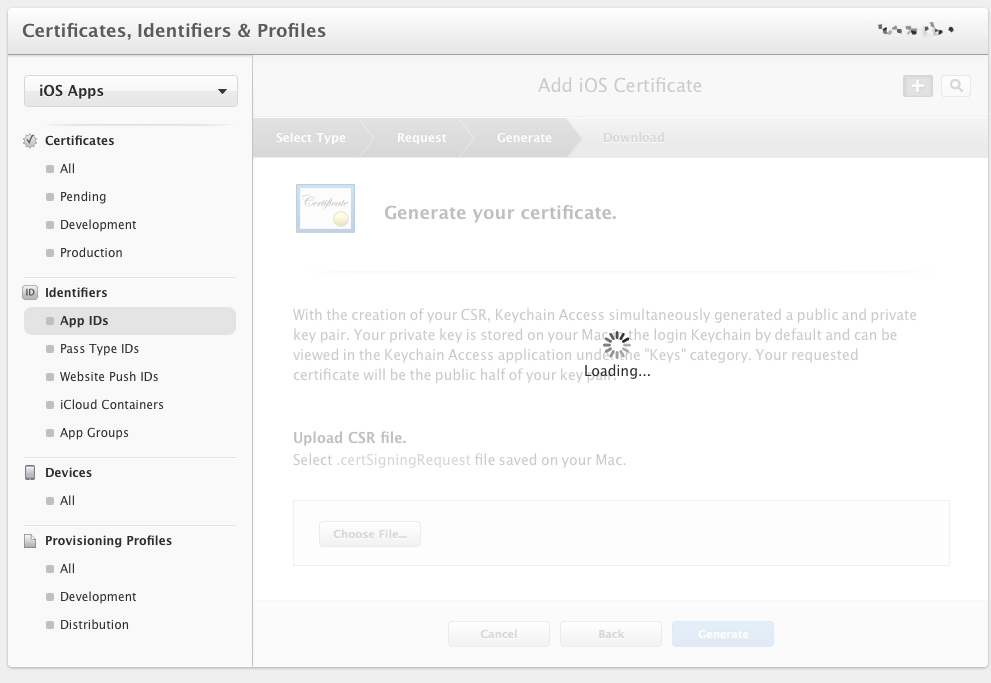
After a few seconds your certificate will be generated and you can Download it. Save it as aps_development.cer
Upload Certificate to deltaDNA
You should now have 3 files saved:
- The Certificate Signing Request File (CSR) : deltaCrunch.certSigningRequest
- The Private Key : deltaCrunch.p12
- The SSL Certificate : aps_development.cer
Now you can upload your SSL certificate and Private Key to deltaDNA.
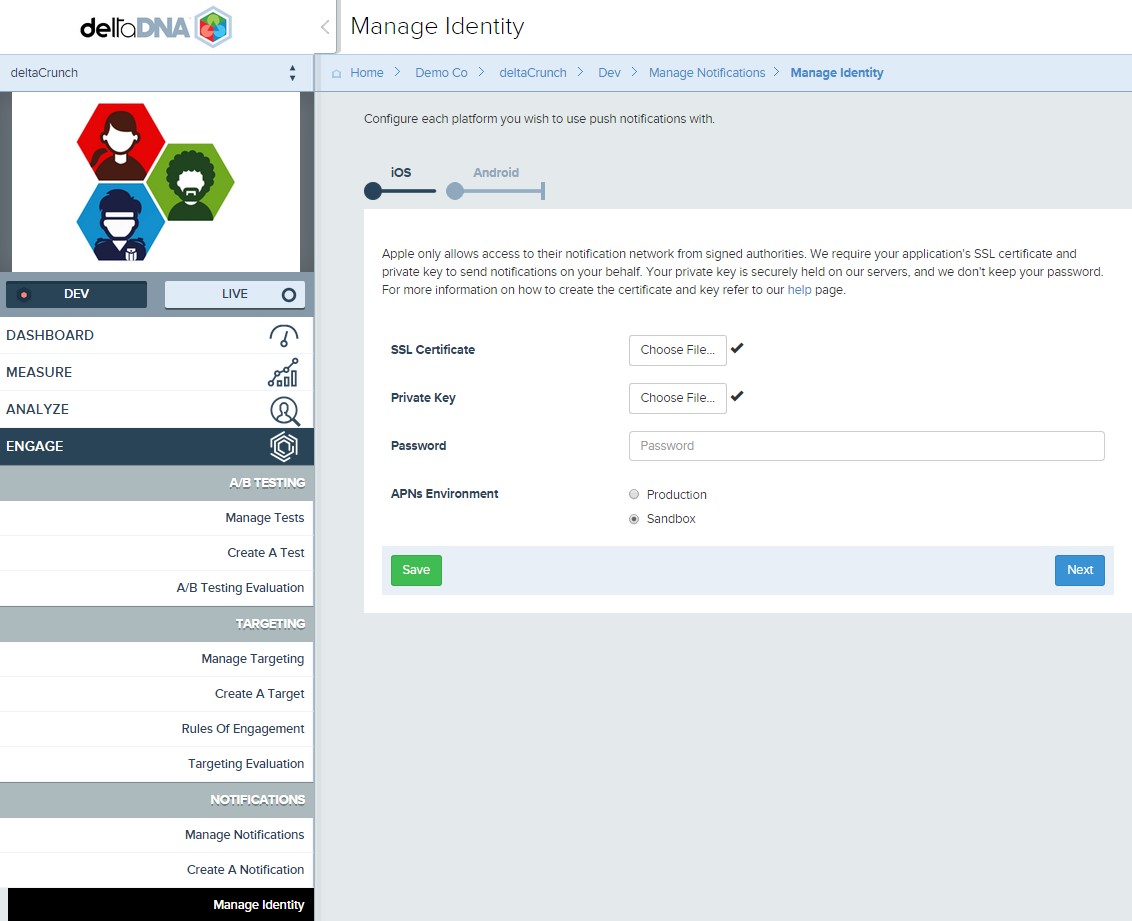
Login to deltaDNA, and go to the Setup section of you DEV app then from the Tools – Out Game subsection select the Manage Identities page.
Select the SSL Certificate File and the Private Key File, enter your password and select the correct APN Environment for your and click the Save button.
You receive a warning if you get the password wrong.
You are now ready to
- Create a provisioning profile for your App
- Add the code to your app to pickup the PushNotifcationToken from the device and send it to deltaDNA
- Create and schedule push notification messages on the deltaDNA platform.
Creating the Provisioning Profile.
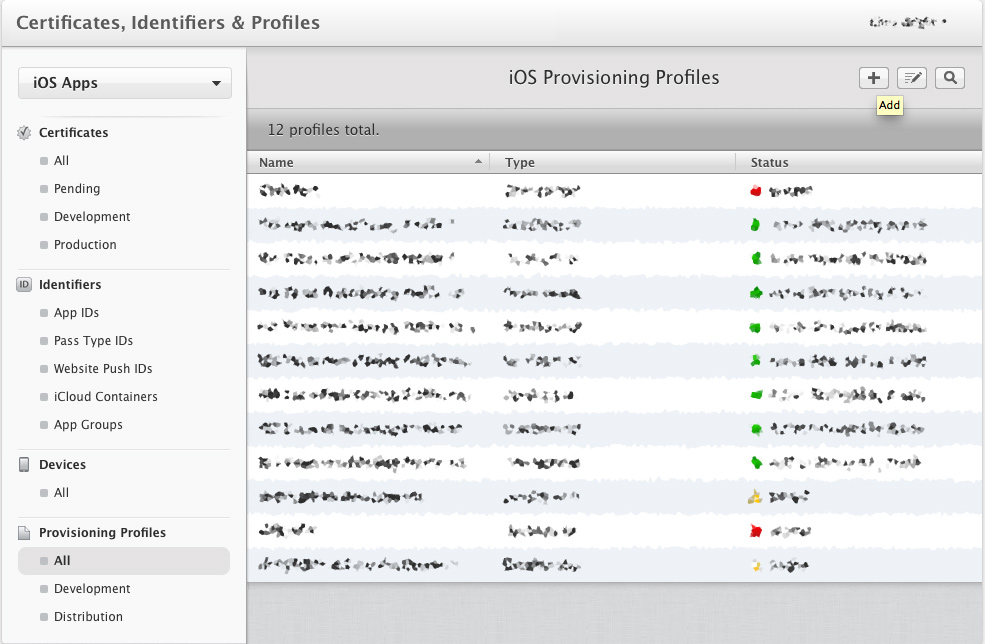
Go back to the Apple Developer site and navigate to the Provisioning Profiles page on the Certificates, Identifiers & Profiles page and press the Add button to start creating a new provisioning profile for your App.
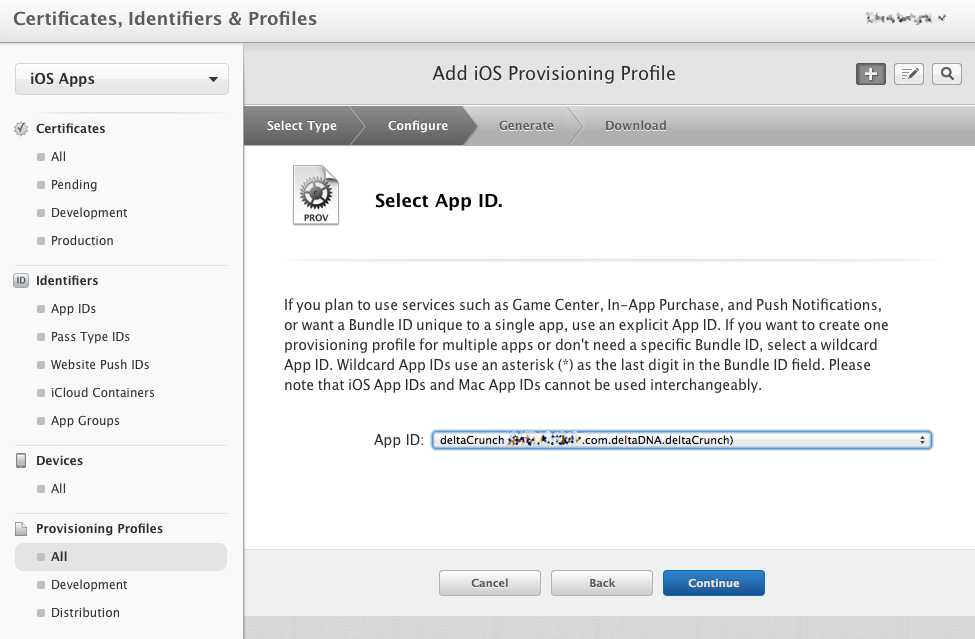
Choose the iOS App Development option and press Continue

Select the App ID that you created earlier
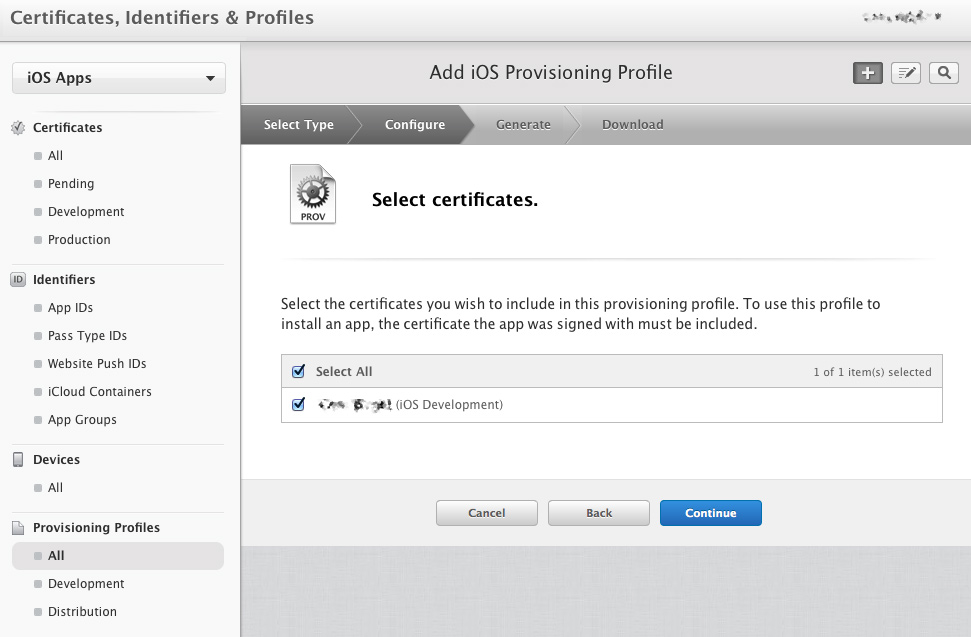
Then select your certificate.
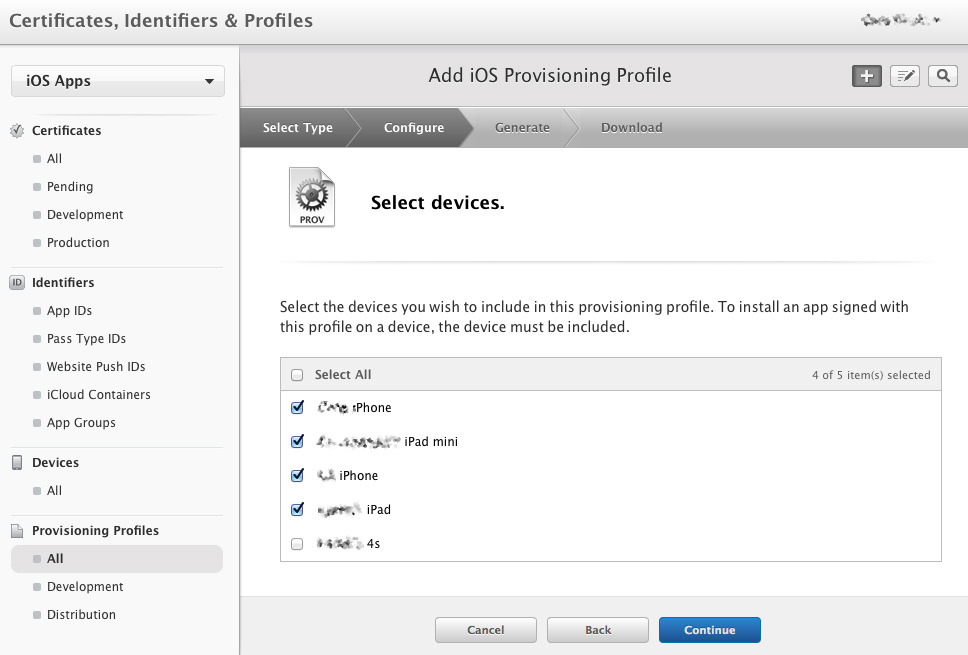
and your development devices
Finally, give your provisioning profile a name, press the Generate button to create your profile, then Download it and add it to Xcode either by double clicking it or dragging it on to the Xcode icon.

